JConcepts
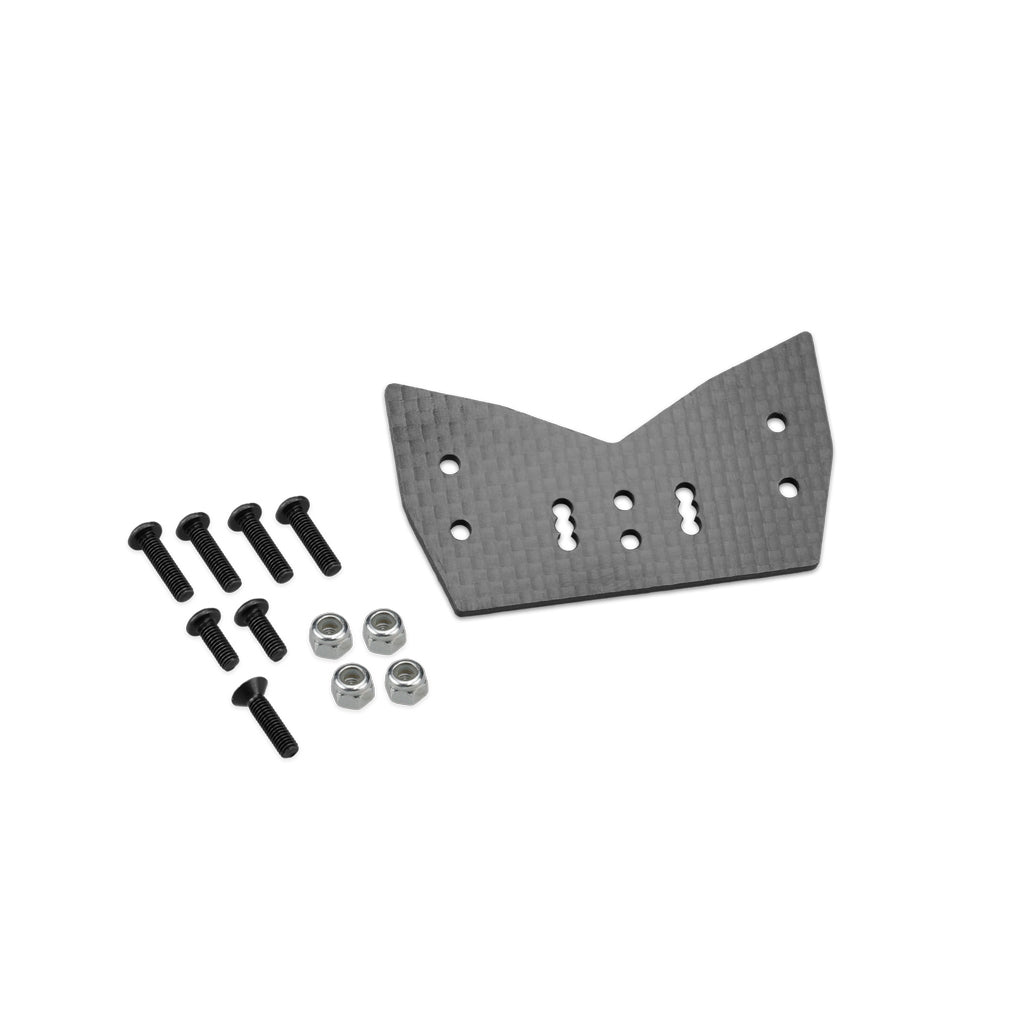
F2 Truggy Body Mount Adaptor C/F-8ight-XT
F2 Truggy Body Mount Adaptor C/F-8ight-XT
Ordinarie pris
£19.99 GBP
Ordinarie pris
Försäljningspris
£19.99 GBP
Enhetspris
per
Skatt ingår.
Frakt beräknas i kassan.
Det gick inte att ladda hämtningstillgänglighet
JConcepts unveiled a new body during the 2021 ROAR Fuel Nationals for the 1/8th truck division. The F2 body was constructed to perform at the highest level using the latest trend of reducing surface area above the shock tower line, reducing the overall weight while maintaining a tight silhouette. No stranger to Truggy bodies, the JConcepts team has developed a successful line of bodies with the Punisher and Finnisher designs, and each has excelled and peaked during ROAR championship events. For the 2021 event, the team focused on a behind tower concept body to fit 5 chassis configurations including the Mugen, Team Associated, TLR, HB, and Tekno.
To mount the F2 body, a carbon fiber adaptor is needed along with the Team Associated #81447 body mounts or Mugen #MUGE2148 (for MBX8T) to place the front of the body in correct position. Each truck has a specific adaptor produced in carbon fiber which bolts directly to the stock tower and once adding the (not included) body mount, provides a custom fit and beautiful finish.
Assembly notes –
To begin, install or mock-up the (not included) AE body mount #81447 or Mugen #MUGE2148 (for MBX8T) into the center position on the carbon fiber adaptor by using included hardware. Tighten the screw while allowing the mount to “notch” in to place to give the mount a vertical and stationary position. In some cases, depending on vehicle, the body mount may need to be completely installed to the adaptor first, due to hidden or closed-off screw locations. Once the mount is positioned, attach the carbon fiber adaptor to the shock tower using 3mm hardware and secured in to place with 3mm lock nuts.
Once the carbon fiber adaptor of choice is attached to the shock tower, review the instructions on body trimlines to accommodate the vehicle of choice. It is important to follow along to position body mount holes, perimeter cutlines and possible engine head cut-out and fuel tank openings to the appropriate vehicle. Once the carbon adaptor is in position and body is trimmed for the vehicle, the painting and detailing process can be completed in traditional fashion. #gojconcepts


